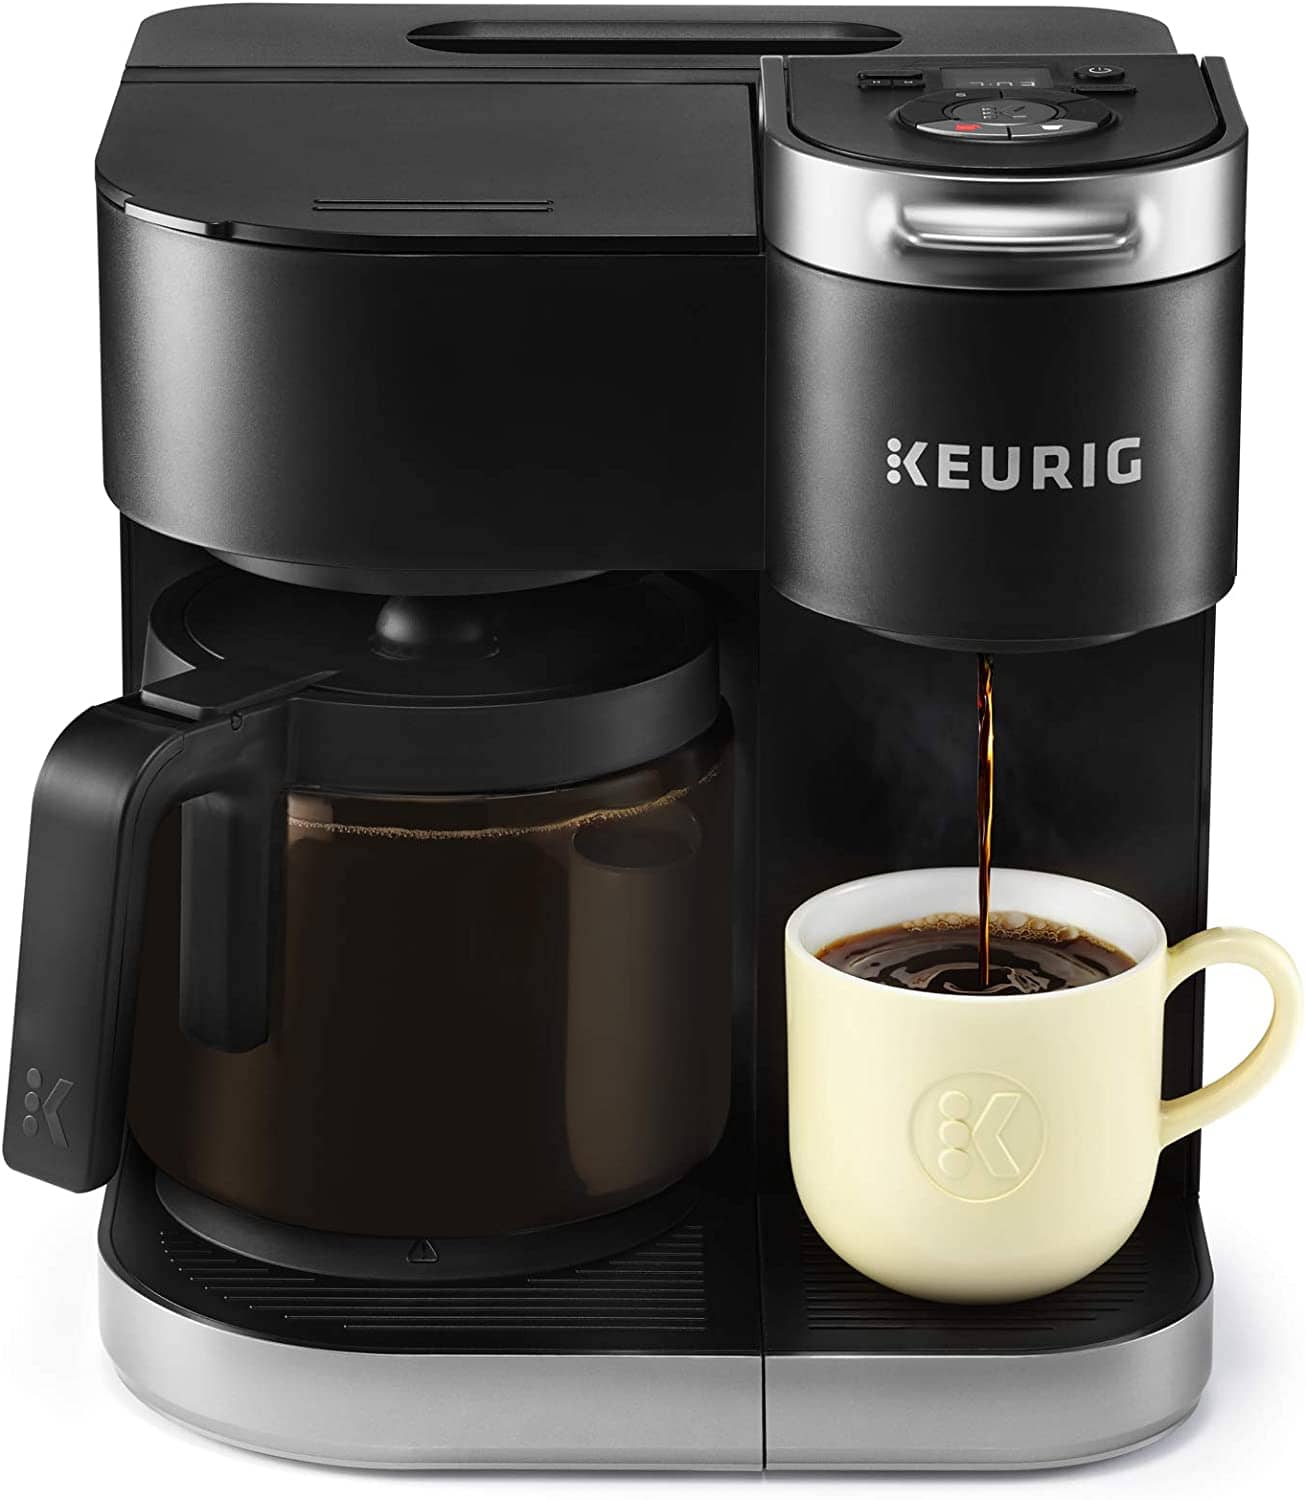
Are you frustrated with a Keurig descale light that won’t turn off and are tired of wasting time and effort looking for a solution? This guide is for you!
We’ll walk together through some common reasons why a Keurig coffee maker’s descale light won’t turn off after descaling and how to fix it quickly and easily.
If you have never descaled your Keurig coffee maker and are unsure about what the descale light is and why it comes on, I’ve included answers and instructions to all that later in the guide, but I don’t want to waste your time, so we’ll start with the solutions first.

If you’re curious about what you’re actually putting into your coffee maker when you descale it, check out my guide The Ingredients in Keurig Descaling Solution
And to learn about a quicker and simpler way to clean your Keurig, check out my article: How to Use Keurig Rinse Pods
How to Fix a Keurig Descale Light that Won’t Turn Off After Descaling
The most common reason a Keurig descale light stays on after descaling is that the Keurig was never set into descale mode prior to the descale solution and water being run through it.
To initiate descale mode after filling the water reservoir with the descaling solution or vinegar, follow the steps below:
1. Plug in the Keurig and make sure that the power is off.
2. Hold down the 8-ounce and 12-ounce buttons at the same time for 3 seconds
3. The “K” brew button should start flashing, press it to initiate the descaling process and begin descaling
Now that the Keurig is in descale mode, the descaling process after this point will include running one full water reservoir of equal parts descaling solution and water (equal parts white vinegar and water works as well) until the add water light comes on.
Let the machine sit for 30 minutes.
Then fill the water reservoir full of regular water and run that through the machine using the largest brew size button until the add water light comes on. Repeat running full water reservoirs through the machine until the descale light turns off.
This may take 10-12 cycles or up to 3 full reservoirs of water.
For most people who have a descaling light that won’t turn off after descaling, restarting the process and beginning it by initiating descale mode first will fix the issue. It’s a fairly common problem since instructions to do so are not obvious.
The reason that this solution works is that the descale button starts flashing on a Keurig after a preset number of brew cycles have been run since either the purchase of the machine or the last descale. So if you don’t initiate descale mode, which tells the machine that it is being descaled, it will have no way of knowing you have cleaned it.
See more : 7 Best Gin Mixers for a Flavorful Twist
If you don’t initiate, it seems that the Keurig coffee maker will be unable to recognize the descaling solution as any different than regular water used to make a normal cup of coffee.

Other Solutions to a Keurig Descale Light that Stays On After Descaling

If you have tried descaling your Keurig after initiating descale mode by pressing the 8oz and 12oz buttons simultaneously, here are some more tips and tricks you can use to get that pesky descale light off for good.
After Descaling Unplug the Keurig Machine for a Few Minutes The classic “Have you tried turning it off and on again” sounds ridiculous, maybe even insulting, but it can work. Some Keurig users online have reported that after descaling and seeing the light still on, they unplugged the machine for a few minutes, and then after plugging it back in the descale light was off.
This probably resets the machine in some way. If it doesn’t work for you, we have more solutions below.
Related: 17 Actually Useful Keurig Accessories
Run More Water Through and Wait Until the “Add Water” Light Comes On The descaling process includes running a full water tank of descaling solution and water, or white vinegar and water, through the Keurig. After running through all the descaling solution and the “add water” light comes on, you then run a water reservoir of rinsing cycles with regular water.
If your descale light is still on at this point, the Keurig may just need more rinsing cycles of water. Some people report that their descale light did not go off until after 3-4 full reservoirs of water were rinsed through the machine.
It’s also really important that you wait to refill the water reservoir during descaling until the “add water” light comes on. This is a way the machine keeps track of how many full reservoirs have been run through and so if you refill the reservoir early, the Keurig won’t know that it’s been properly descaled.
Remove the Water Reservoir Some Keurig owners online have found that if your machine has a removable water reservoir, removing it after descaling may tell the machine that the descaling process is finished, and will turn off the light.n
Clean the Needle There could be mineral deposits or even coffee grounds clogged in the needle that sends hot water into the K-cup. You can use a paperclip to get into this needle and free up any debris that may be stuck.
Clean Removable Parts Another important piece of the descaling process is to ensure that all removable parts are cleaned. This will depend on the Keurig model that you have but removable pieces include the K cup holder, water reservoir, and water filter. Just use warm water and soap. You can also clean the inside components of your Keurig that aren’t removable.


Read Your Keurig Model’s User Guide Keurig currently has dozens of models for sale, and dozens more that have been discontinued but are still used by some people. Machines vary from two buttons only to touch screens with temperature adjustment and smartphone app control. So to make sure you’re properly descaling the Keurig model you use, I recommend taking a look at the descaling instructions in your machine’s user manual to see what Keurig recommends. n
You can find your Keurig Model User Manual online by googling “the Keurig model you own + user guide”
See more : How Much Caffeine Is in Your Favorite Pick-Me-Up?
Return your Keurig for a New One If you’ve tried all the solutions above and can’t get that descale light off, your machine may be faulty and your time may be better spent replacing your Keurig rather than trying to fix it.
The good news is that if you bought your machine from Keurig, it should have a year-long warranty on it.
You can call Keurig’s customer Service team for assistance at 1-866-901-BREW(2739).
Put a Piece of Black Electrical Tape Over the Light The last solution I have for those who can’t get their descale light to shut off is to put a piece of black electrical tape over it. As they say, sometimes ignorance is bliss. Tape won’t stop the blinking light, but it will make it easier to ignore. Just an idea.
What is a Keurig Descale Light
The Keurig Descale Light is a warning light on newer models of Keurig coffee makers that indicates the machine has mineral deposits and debris built up inside that need to be cleaned.
The descaling process involves first running a descaling cleaning solution or vinegar through the machine to clean it and then running water through after to rinse it out.
How Often Should I Descale my Keurig?
A Keurig machine should be descaled every 3-6 months to help prevent the build-up of calcium deposits inside of the machine. If filtered or bottled water with less mineral content is used, the Keurig will not need to be descaled as often. If “harder’ water with a higher mineral content is used, the Keurig will need to be cleaned more often.
Buy Official Keurig Descaling Solution on Amazon Here
How to Descale a Keurig Coffee Maker
To descale your Keurig coffee maker begin by filling the water reservoir with equal parts descaling solution and water. Distilled vinegar can be used in place of a descaling solution.
Then, with the Keurig plugged in but powered off, hold down the 8oz and 12oz buttons simultaneously for about 3 seconds. The “K” brew button should start flashing. This means descale mode has been initiated.
Run the descaling solution through the machine into a mug and pour the filled mug into the sink. Repeat until the water tank is empty of the descaling solution and the “add water” light is on.
Let the machine sit for 30 minutes.
Next fill the water reservoir with water and run that through the machine using the largest brew size button until it is empty and the “add water” light is on. Dump the hot water out.
For instructions directly from Keurig on how to descale your specific model tap here.
If you’re a visual learner, here’s a helpful one-minute youtube video that will walk you through the entire descaling process start to finish.
https://www.youtube.com/watch?v=l9ZSDjAFy9M
This article was written by Josh, the founder and owner of AngryEspresso.com. You can learn more about Josh on our About the Team page here.
Nigel Gildon editor:Nigel Gildon is the editor of Chef Wayne’s Big Mamou: Chef Wayne’s Big Mamou. He has worked in the publishing industry for many years and has a passion for helping new authors get their work into the hands of readers. 63 Liberty Street * Springfield, MA 01003


